Sanity with Sarah: Salt Dough Ornament Activity Recipe
Like many parents being told they will be quarantined with their children for the next two weeks or more, my first instinct was to hide all the good snacks and barricade myself in my bedroom.
My second thought was to figure out what to do with these kids to keep them (and me) from climbing the walls in boredom.
As an amateur cookier, I have tons of baking and decorating supplies in my house, but I didn’t necessarily want to waste all my eggs, butter, and edible glitter (I know my kids—they always go straight for the glitter, edible or otherwise) on cookies that my kids love to decorate, but not so much to eat.
So I decided to let them make some simple salt dough ornaments and use some of my cookie stuff to decorate with a little more flair. Now we have some cute Easter ornaments and food coloring-dyed hands. Voilá!

Salt Dough Ornament Recipe
Ingredients:
- 2 cups all-purpose flour
- 1/2 cup table salt
- 3/4 cup warm water, plus 1/4 cup reserved
Steps:
- Preheat oven to 300°F.
- Mix the flour and salt together until combined.
- Trickle in the warm water while continuing to mix. If you have added the 3/4 cup water and your dough is still too crumbly, trickle in a little more water until it’s a good consistency (it might still be a little crumbly, and that’s ok!)
- Pour dough out onto a piece of parchment paper and knead with your hands. The warmth of your hands as you knead will help the dough come together so that it is smooth.
- Place another piece of parchment paper over the ball of dough. Use a rolling pin to roll the dough flat to between 1/8”-1/4”. Try to make them all the same thickness, so that they all bake to the same color.
- Use cookie cutters to cut out shapes. Use a straw to poke holes at the top of the ornaments so that you can string a ribbon through later. Transfer shapes to a parchment-lined cookie sheet.
- Bake at 300°F for about an hour, then let cool.

To paint, we used some of my Cookie Countess airbrush colors poured into a small paint palette. I lightened the colors with a bit of Whipped White or Pretty Pearl Shimmer, since the airbrush is so dark and concentrated. You can certainly use any markers or non-toxic paints you have lying around, as well!
My 9-year-old wanted to get a little fancier (of course), so we used edible marker to stencil designs on a couple of the cookies, and then she painted them in. (Although we obviously weren’t going to eat these, I didn’t want to ruin my stencils with Sharpie, hence the edible marker).

Let everything dry, and then string a thin ribbon through the holes. Fun and easy for the kids!

Here's where to find the Stained Glass Cross Stencil, and the cute Bunny Love Stencil!
Be sure to follow us on Facebook and Instagram for more fun activities and inspiration!
Recommended for You:
Piping Bag Tip Tube Covers - Set of 4
AtecoDon't let your icing bags leak or dry out! Use these covers on bags with Ateco couplers and standard tips on them. Reuse them again and again. Se...
View full detailsBlack Fine Tip Food Marker
The Cookie CountessA black edible-ink pen is essential for your decorating kit. Use these high quality markers for: Marking up baked cookies for planning designs Wr...
View full detailsStainless Steel Measuring Cups 4 Piece Set
The Cookie CountessIncredibly high quality, with no plastic parts. Whether baking or cooking you'll reach for these essentials again and again! THESE ARE THE LAST SET...
View full detailsInstant Royal Icing Mix - White Base
The Cookie CountessJust add water for white, stiff icing! Perfect for stenciling, dots and eyes, writing, or thin it for flooding. You can tint it any color you need...
View full detailsCookie Order Form 5 x 7, 50 sheets
The Cookie CountessThese cute sheets will help you plan your cookie orders. The back has an area for sketching and pricing planning. Size: 5" x 7" 50 Sheet Pad Doub...
View full details-

Decorating a Vintage Heart Cake Cookie
Read nowYou've probably noticed that vintage heart cakes are having a MOMENT. It seems like everywhere you look, you'll see adorable heart cakes with fluffy borders, ruffles and swooshes and bows and cherries. The more ornate, the better. What's old is...
-

How To Make Cookie Moss!
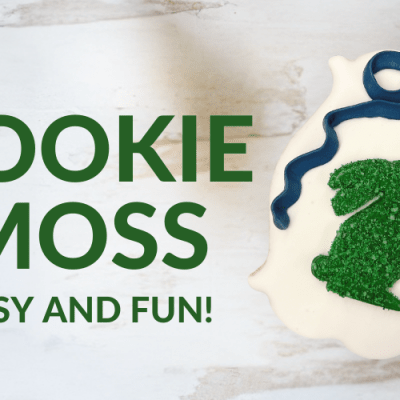
Read nowAfter posting my recent blog about how to make ribbon bows, I had lots of questions about how I made the moss bunny. And I am at your service! So here are step by step instructions on how to make...
-

Ribbon Bows - Everything you need to know!
Read nowUnless you've just returned from a deserted island, you've probably noticed that ribbon bows have taken over cookie decorating. And I am TOTALLY here for it! Ribbon bows are the perfect sweet and girlie touch for so many designs and...


Leave a comment