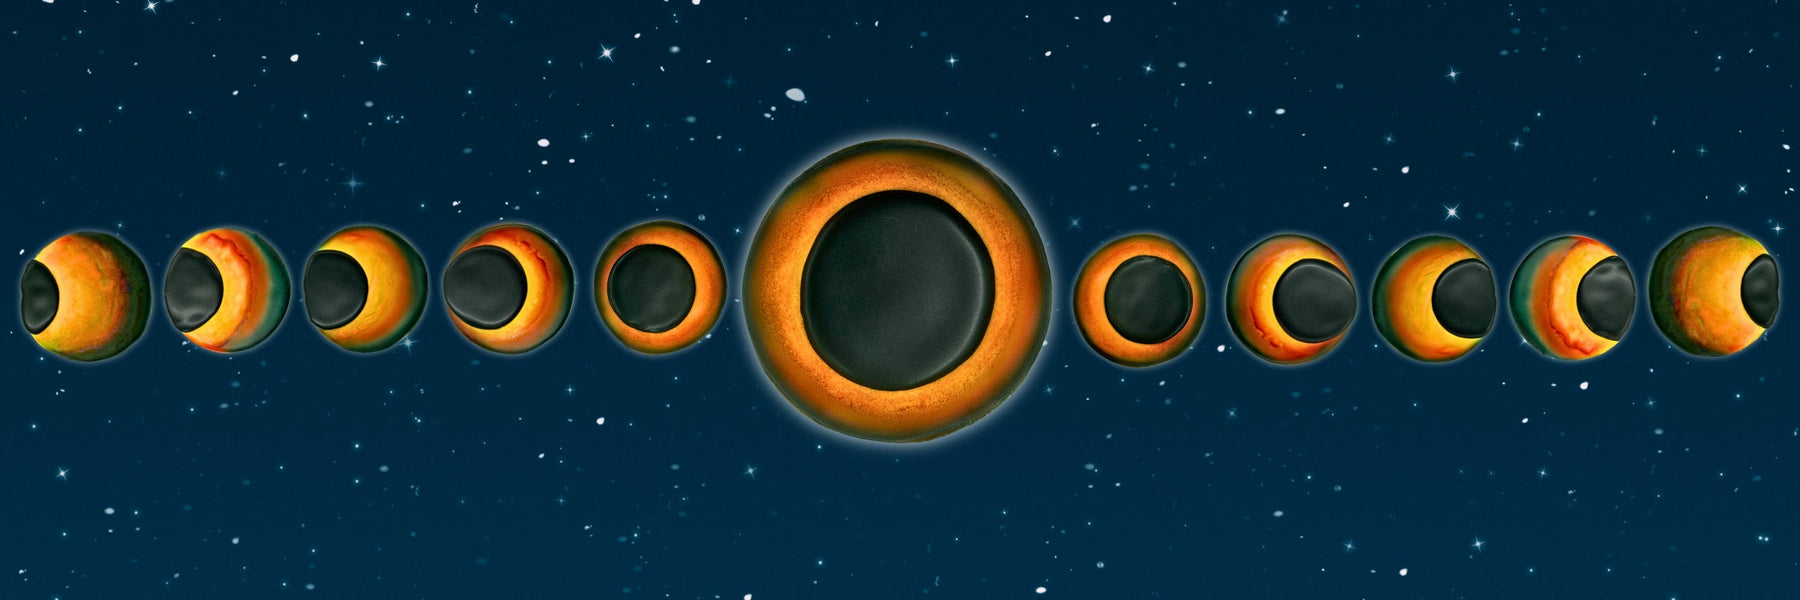
Solar Eclipse Cookies
Cookiers will find a way to cookie anything.
Yes. Cookiers will find a way to cookie anything. Am I being dramatic? A tad. But c'mon! Is there anything more dramatic than a total solar eclipse? I knew the eclipse was coming up, but I can't say I know a ton about solar eclipses. Except maybe, don't look directly at it. (Or can you?) So I looked up some facts about solar eclipses.
💡 Did you know
- Technically, a solar eclipse is the outcome of syzygy: meaning the Sun, Moon and earth are aligned.
- A solar eclipse can only happen during a New Moon.
- The next total solar eclipse won't happen until 2044.
- it IS safe to look at the solar eclipse without viewing glasses DURING totality. Otherwise, keep your shades on.
But Back to Cookies...
I had a ton of fun making these solar eclipse cookies. Mostly because they were actually pretty quick and easy to decorate! They only require white and black icing. The magic is achieved by using your airbrush machine!

Here's what you will need to make these solar eclipse cookies
Steps to make your Solar Eclipse Cookies
If you are more a video person, scroll down for a video tutorial.
The next step is an easy one, just pipe and flood your moon.

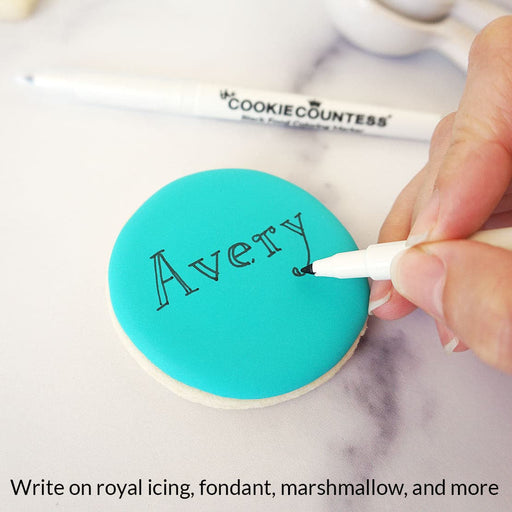
Trace your smaller cookie cutter with an edible marker. You may choose to do all your cookies the same, with the eclipse in totality and your moon centered. If you want to do some of the stages of the eclipse, you will just keep moving your "moon" circle over towards the edge of the cookie.


Next start with the yellow airbrush, and circle your way around the outline of the moon. Once complete, switch over to the red, and airbrush another circle. Where the red and yellow overlap will turn into orange, so you don't need to also spray orange. If you are using a Cookie Countess airbrush machine with a quick connect adaptor, this is it's chance to shine! If you have extra guns you can quickly switch between guns and colors.


With red complete, you will airbrush one more circle around the edge of your cookie with black. To be precise with your color placement while airbrushing, you will have to be closer and more angled to the cookie than you would be if you were airbrushing the whole cookie, or stenciling. Especially when doing the black, as you want to just catch the outside edge. This may take some practice, but once you get the hang of it, is becomes second nature. Using the turntable helps a lot with this process as well.


The next step is an easy one, just pipe and flood your moon.


🌅 If you want the sun section of your airbrushing to look extra fiery, you can come back in with your airbrush with either more yellow airbrush, or even just use the air coming from you gun, and get extra close to the surface of the cookie. This will push the wet color around a bit and give you this very hot fiery look.
⭐️ Because this technique uses more airbrush color than you would usually use, expect that it may take a bit for the color to fully dry. Mine took a few hours to completely dry on the cookies where I was more heavy handed with the airbrushing.
Are you going to watch the eclipse this year? In my brief research, I also learned that where you are the country makes a big difference as to the totality of the eclipse that you see. They call this the "Path of Totality" - talk about sounding dramatic! But it's super interesting to see where the best viewing sites are, and how long the totality will last if you are in that region. Are you close to the Path of Totality? At The Cookie Countess here in Rhode Island, we are fairly close to the path. Now we just have to hope for clear skies! I can tell you though, without a doubt, there will be a path of totality to the staff kitchen when I put these cookies out. ;) Enjoy!!

Recommended for You:
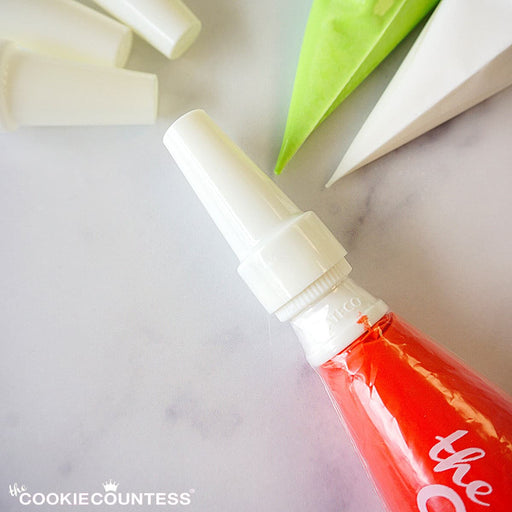
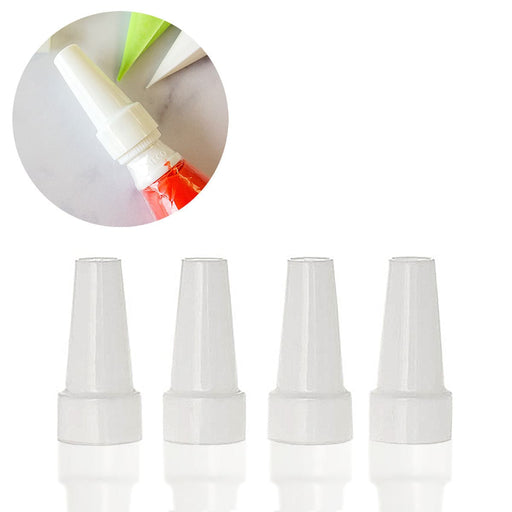
Piping Bag Tip Tube Covers - Set of 4
AtecoDon't let your icing bags leak or dry out! Use these covers on bags with Ateco couplers and standard tips on them. Reuse them again and again. Se...
View full detailsBlack Fine Tip Food Marker
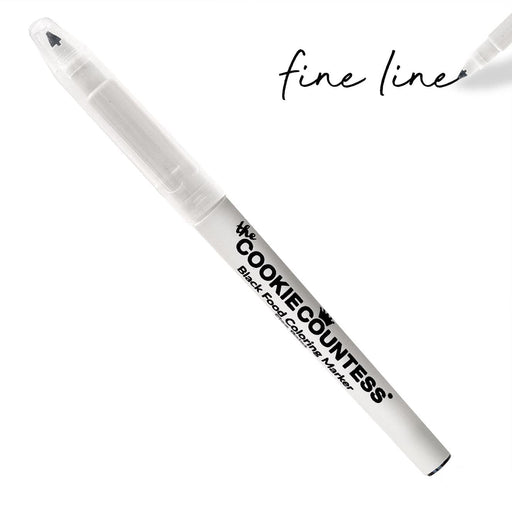
The Cookie CountessA black edible-ink pen is essential for your decorating kit. Use these high quality markers for: Marking up baked cookies for planning designs Wr...
View full detailsStainless Steel Measuring Cups 4 Piece Set
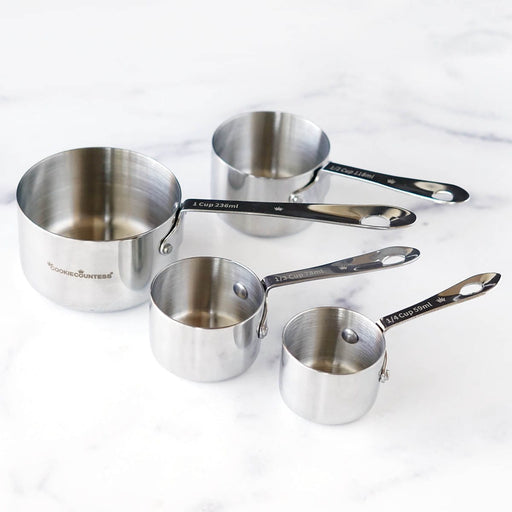
The Cookie CountessIncredibly high quality, with no plastic parts. Whether baking or cooking you'll reach for these essentials again and again! THESE ARE THE LAST SET...
View full detailsInstant Royal Icing Mix - White Base
The Cookie CountessJust add water for white, stiff icing! Perfect for stenciling, dots and eyes, writing, or thin it for flooding. You can tint it any color you need...
View full detailsCookie Order Form 5 x 7, 50 sheets
The Cookie CountessThese cute sheets will help you plan your cookie orders. The back has an area for sketching and pricing planning. Size: 5" x 7" 50 Sheet Pad Doub...
View full details-

Cookier Takeaways
Read nowNine years ago this Halloween, I made my very first ever decorated sugar cookies. I had seen a video tutorial on Facebook, and after falling down a rabbit hole watching flooding video after flooding video, I thought to myself, “I...
-

Color Schemes
Read nowOne of the biggest considerations when designing a cookie set (aside from the shapes themselves) is the color scheme. And I don’t know about you, but very rarely do I find myself using bottled color as-is without mixing and tweaking...
-

Precision Rolling Pins 101
Read nowDon’t you love it when you bite into a cookie that is thick and underbaked on one end, but thin and overbaked on the other? You don’t? Yeah, me neither. If you use a standard rolling pin to make rolled-out...




Leave a comment