
Live tutorial replay! Quick and simple airbrushing techniques that have a big impact!
Transform Your Cookies with the Stroke of an Airbrush: Effortless Decorating for Eye-Catching Treats!

Last week, I had the pleasure of sharing my knowledge on airbrushing with stencils, and without, during a live tutorial. Using Easter egg cookies as our canvas, we explored various techniques that can add a pop of color and creativity to your cookie decorating endeavors. The best part? These airbrushing techniques aren't just limited to Easter, but can be utilized for any occasion throughout the year.
Airbrushing is a powerful tool that can save you time while adding an undeniable WOW factor to your cookie creations. With an airbrush system, you can create intricate designs and gradients that would be difficult to achieve by hand, making it an invaluable investment for any baker or decorator. If you're on the fence about purchasing one, I urge you to take the plunge - I guarantee it'll be worth it!
So, if you're looking for inspiration or want to learn more about how to use an airbrush system, grab yourself a cup of coffee and a cookie and watch my tutorial. You'll be amazed at how quickly and easily you can transform your cookies into works of art.
The first airbrush technique i demonstrate is how to make a monochromatic cookie without having to use multiple color options.
Step one is to stencil your cookie with your airbrush as your normally would. A simple pattern works best with this technique. For these Easter eggs, a vintage ric rac pattern was perfect.

Step 2 is even easier!
Now you just need to remove the stencil, and using the same airbrush color, spray a light layer over the entire cookie. This style has a few benefits. First, it hides any over/under spray you may gotten while stenciling. Second, it gives you the effect of using 2 different colors (in this example, pink), but you are only using the one. AND as with all of these cookies. you are starting with a white flooded base. This is a huge time save!

In the next part of the video I show you how to use one stencil, twice, with 2 colors to get a multicolor stripe effect. I start by airbrushing my stripes as I normally would. Remember to aim straight down at your stencil to create crisp lines. Then allow your airbrush to dry for a couple minutes.

The second step in this process is to simply place the same stripe stencil back on the cookie BUT cover the pink stripes with the stencil. Thus exposing only the white parts. Then I switch colors to orange and stencil again. This style would also work well with a chevron pattern stencil. Or different sizes of stripes.

I love this technique because the result is a very colorful cookie - but without having to mix any additional icing colors! And without having to pipe stripes - because we all know how fun that is! ;) And once again, we are using a white flooded cookie. Not having to mix and bag different colors to flood different colors makes the process so much quicker!

This technique can be used anytime of year, with any theme. Think red and green for Christmas. Orange and black for Halloween. The possibilities are endless!

If you're in the market for an airbrush system, look no further than the Royale Max airbrush system from The Cookie Countess. This innovative airbrush system has been designed from the ground up to be the most powerful airbrush system available in a quiet and compact package. The team at The Cookie Countess has truly outdone themselves with this system.
One of the standout features of the Royale Max is its two integrated airbrush gun holders, which allow you to quickly and easily swap between colors and additional guns. This feature alone can save you a lot of time and hassle, especially when working on multiple cookie projects.
Another great feature of the Royale Max is its quick connect capabilities. This feature allows you to quickly and easily attach and detach the airbrush gun from the system, and swap out guns, which can also save you time and reduce the risk of spills or messes.
But that's not all - The Cookie Countess has now bundled the airbrush system with a 12-pack of .75oz essential airbrush colors and a Magic Stencil Screen, all for the same price as the airbrush system alone. This is an incredible value that will allow you to get started right away with airbrushing and stenciling on your cookies.
So if you're looking for a powerful, yet compact and quiet airbrush system that is easy to use and comes with all the essential accessories, look no further than the Royale Max from The Cookie Countess.
I hope that you found this live tutorial on airbrushing with stencils helpful and informative! At The Cookie Countess, we are passionate about helping you create beautiful and unique cookie designs, and we are always looking for new and creative ways to share our knowledge with our customers.
In addition to this tutorial, we have a wide range of other live replays and videos available on our website, including tutorials on everything from basic cookie decorating techniques to more advanced airbrushing and stenciling methods. Whether you're a beginner or an experienced decorator, we have something for everyone!
But we're always looking for feedback from our customers, too. What would you like to see in a future live tutorial? Do you have any specific techniques or designs that you would like us to explore in more detail? Let us know in the comments below! We're always open to new ideas and suggestions, and we love hearing from our customers.
In the meantime, be sure to check out our other resources, including our blog and social media channels, for even more inspiration and ideas. And don't forget to share your own creations with us using the hashtag #thecookiecountess - we can't wait to see what you come up with!
Recommended for You:
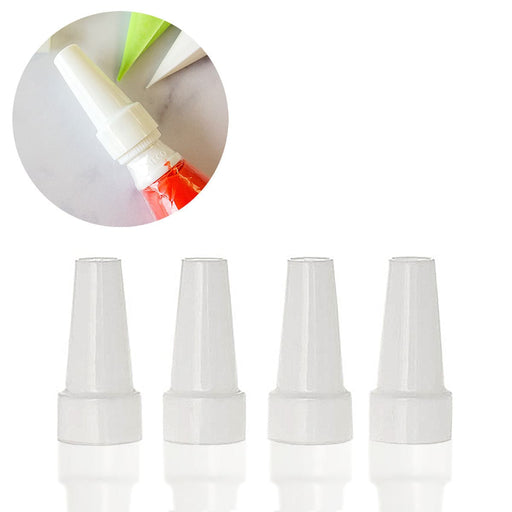
Piping Bag Tip Tube Covers - Set of 4
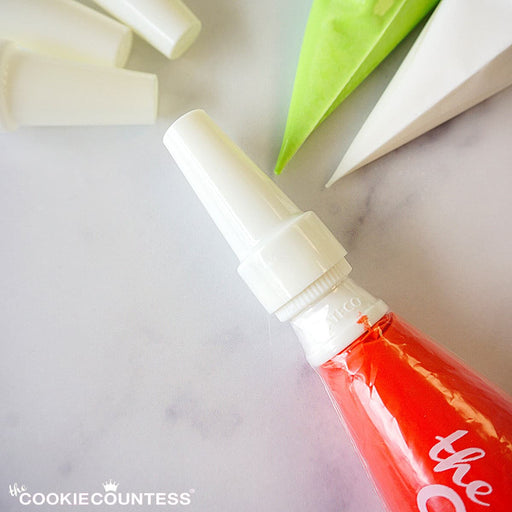
AtecoDon't let your icing bags leak or dry out! Use these covers on bags with Ateco couplers and standard tips on them. Reuse them again and again. Se...
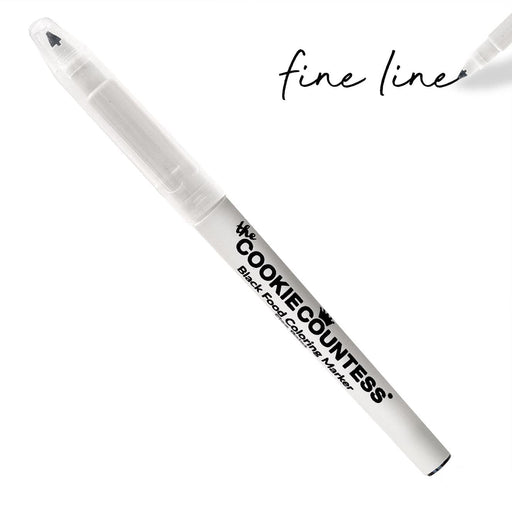
View full detailsBlack Fine Tip Food Marker
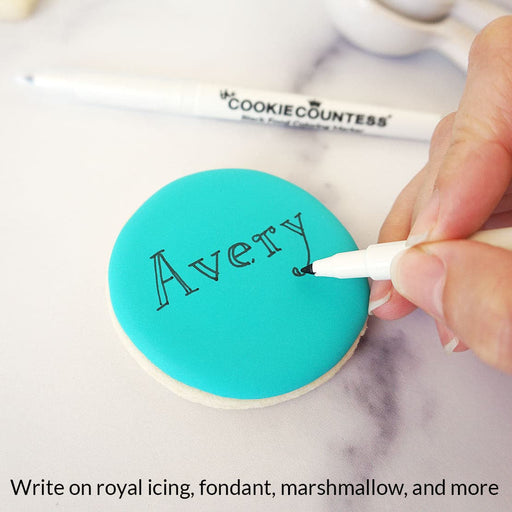
The Cookie CountessA black edible-ink pen is essential for your decorating kit. Use these high quality markers for: Marking up baked cookies for planning designs Wr...
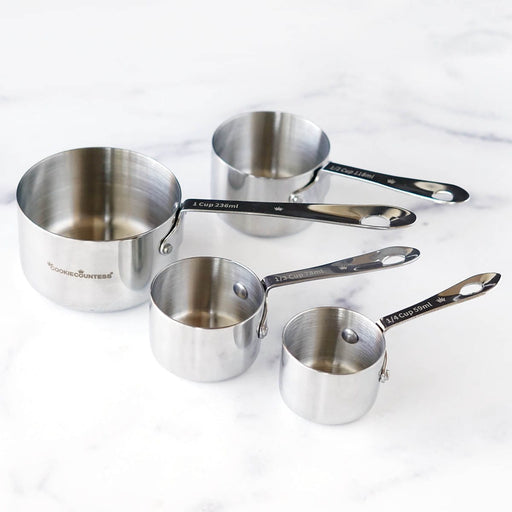
View full detailsStainless Steel Measuring Cups 4 Piece Set
The Cookie CountessIncredibly high quality, with no plastic parts. Whether baking or cooking you'll reach for these essentials again and again! THESE ARE THE LAST SET...
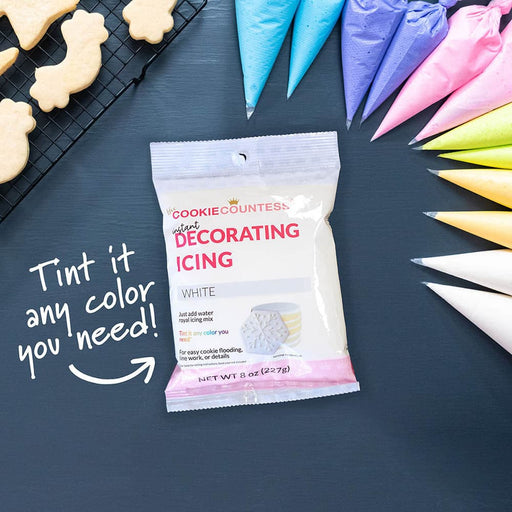
View full detailsInstant Royal Icing Mix - White Base
The Cookie CountessJust add water for white, stiff icing! Perfect for stenciling, dots and eyes, writing, or thin it for flooding. You can tint it any color you need...
View full detailsCookie Order Form 5 x 7, 50 sheets
The Cookie CountessThese cute sheets will help you plan your cookie orders. The back has an area for sketching and pricing planning. Size: 5" x 7" 50 Sheet Pad Doub...
View full details-

Ribbon Bows - Everything you need to know!
Read nowUnless you've just returned from a deserted island, you've probably noticed that ribbon bows have taken over cookie decorating. And I am TOTALLY here for it! Ribbon bows are the perfect sweet and girlie touch for so many designs and...
-

How to Use Cookie Stamps
Read nowIf you have spent even a minute in a cookie group or on a website that sells cookie cutters, you have likely seen cookie stamps, and you may have questions about how to use them effectively. Well consider this your...
-

Tips and the Tipless
Read nowA few Saturday’s ago, I found myself perusing Facebook. Admittedly, a place I don’t spend a lot of time these days. But the rabbit hole swallowed me and I ended up in a cookier group with over 100,000 members, reading...





Leave a comment