
Make Mini Garden Seedling Cookies
Spring is for gardens, and what is cuter than a garden of cookie seedlings growing in chocolate cake "dirt"?!? These are a treat to make AND eat! Kids and adults alike will love these cute cookies that make a great centerpiece at a garden party. My favorite thing about this set is that you only use the one cookie cutter to make several slightly different shapes! And bonus--it's a cookie cutter flip, meaning that we use a cutter that isn't meant for this particular purpose, but which we already had on hand anyways. Let's get started!
Products used (linked):
Mini Mermaid Tail Cookie Cutter
Gel colors: Gourmet Green (stems), Positively Purple (turnip), Outrageously Orange (Carrot)
Airbrush colors: Ivory Towers, Positively Purple, Totally Brown, Whipped White
1 baked and cooled sheet of chocolate cake or brownies
Extra-large piping tip or extra-small round cutter (for cutting the cake/brownies into small rounds)
Mini cupcake liners
Popsicle sticks
Here are some other root vegetables for inspiration:
Seedling Video Tutorial Below!

First, use the mini mermaid tail cutter to cut out as many cookies as you're going to want (I always make extra-- so I can do some quality control sampling, of course. Plus, once they're decorated like carrots, you're basically eating vegetables, amiright?). Flip them around, with the "tail" at the top. Next, use your fingers to pinch the "waist" of the dough into the vegetable shape you want; carrots, parsnips, radishes--all these seedlings are pretty similar, with some just being longer and thin, and others being shorter and squat. Don't forget to adjust the "fins" of the cutout dough into the leafy shape we'll use it for when decorating!
How to Decorate the Different Vegetables

Carrot
Flood the body of your carrots using orange royal icing. Allow to dry, and use a thin paintbrush with a small amount of orange airbrush color to draw on some lines to give the carrot dimension. Use a PME 51 piping tip and some stiff green royal icing to pipe on some leafy stems.
Radish
Flood the body of the radish with white royal icing. Use a paintbrush and some red Sweet Sticks EdibleArt paint to paint the body of the radish, remembering to leave some white at the bottom. Pipe some simple stems using stiff green royal icing in a tipless bag cut with a small hole; switch that same icing to a bag with a PME 51 piping tip to add leaves.
Turnip
Just like the radish, flood the body of your turnip with white royal icing. Airbrush the body with ivory airbrush color (or just flood in ivory, if you prefer to not airbrush). Allow to dry, and then use a mix of white, purple, and brown airbrush color to make a beautiful earthy paint color that you can use to paint your turnips. Make sure to leave some of the ivory showing through--no need to be too "perfect" with this painting. Add some thin purple stems of stiff royal icing and then pipe on the leafy greens (just like with the radish).
Parsnip
Again, flood the body of the parsnip with white royal icing and airbrush it with ivory airbrush color (or flood with ivory royal icing). Once completely dry, use Ivory Towers airbrush color and a thin paintbrush to add some lines to our parsnip. Use the same stiff green icing and PME 51 piping tip to add leaves, and you're all done!

How to Make Edible "Dirt" for Your Seedlings
This part is my favorite! Place mini cupcake liners in your egg cartons. Make a sheet of brownies or a simple chocolate sheet cake. Allow them to fully cool. Use an extra large piping tip or an extra small round cookie cutter to cut out small circles of "dirt"; the key is that they need to fit in the mini cupcake liners.
Plant your "seedlings" upright in their individual dirt patches and add a labeled popsicle stick for some extra flair.
These should be eaten right away, as the cake or brownies can start to dry out.
Recommended for You:
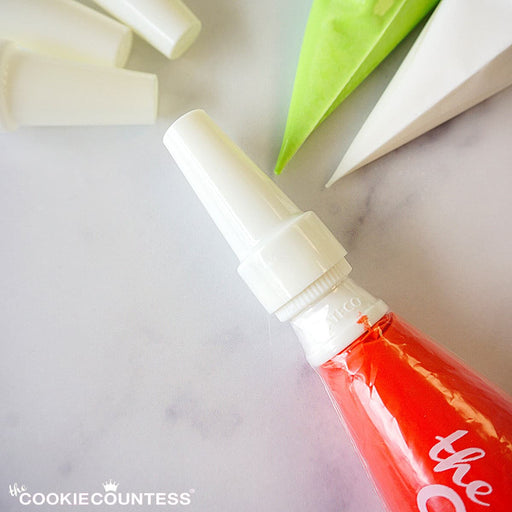
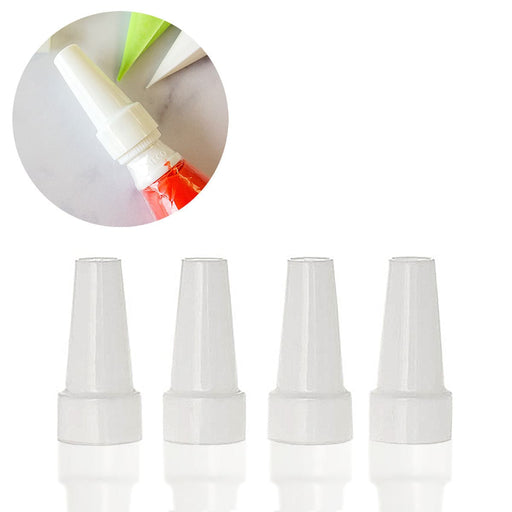
Piping Bag Tip Tube Covers - Set of 4
AtecoDon't let your icing bags leak or dry out! Use these covers on bags with Ateco couplers and standard tips on them. Reuse them again and again. Se...
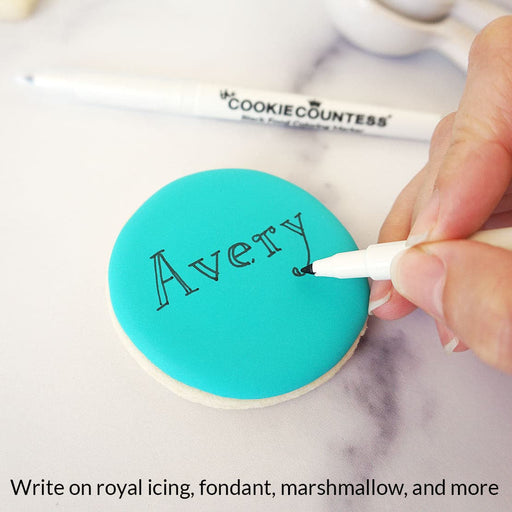
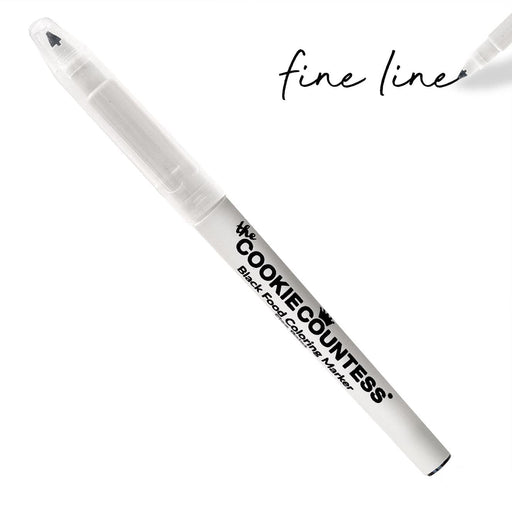
View full detailsBlack Fine Tip Food Marker
The Cookie CountessA black edible-ink pen is essential for your decorating kit. Use these high quality markers for: Marking up baked cookies for planning designs Wr...
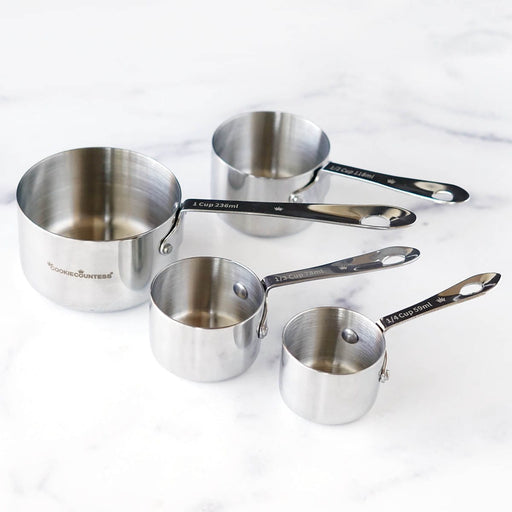
View full detailsStainless Steel Measuring Cups 4 Piece Set
The Cookie CountessIncredibly high quality, with no plastic parts. Whether baking or cooking you'll reach for these essentials again and again! THESE ARE THE LAST SET...
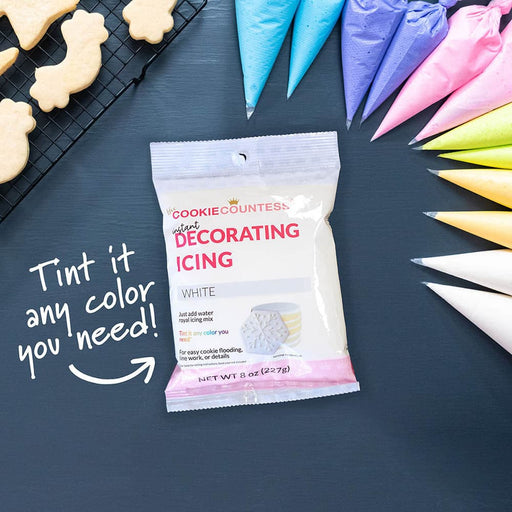
View full detailsInstant Royal Icing Mix - White Base
The Cookie CountessJust add water for white, stiff icing! Perfect for stenciling, dots and eyes, writing, or thin it for flooding. You can tint it any color you need...
View full detailsCookie Order Form 5 x 7, 50 sheets
The Cookie CountessThese cute sheets will help you plan your cookie orders. The back has an area for sketching and pricing planning. Size: 5" x 7" 50 Sheet Pad Doub...
View full details-

Cookier Takeaways
Read nowNine years ago this Halloween, I made my very first ever decorated sugar cookies. I had seen a video tutorial on Facebook, and after falling down a rabbit hole watching flooding video after flooding video, I thought to myself, “I...
-

Color Schemes
Read nowOne of the biggest considerations when designing a cookie set (aside from the shapes themselves) is the color scheme. And I don’t know about you, but very rarely do I find myself using bottled color as-is without mixing and tweaking...
-

Precision Rolling Pins 101
Read nowDon’t you love it when you bite into a cookie that is thick and underbaked on one end, but thin and overbaked on the other? You don’t? Yeah, me neither. If you use a standard rolling pin to make rolled-out...




Leave a comment