
How to Use Sprinkle Stencils
I generally don't use sprinkles on my decorated cookies all that frequently, because I always struggle to find the shapes I need in the colors I want. I also don't love the idea of using sprinkles that have already been on a store shelf for a year, or half of which are broken in the jar. But there are definitely times when I wish I had the perfect sprinkles to go along with whatever set I'm making currently, and Sprinkle Stencils are the perfect solution for this!
What is a Sprinkle Stencil?
Most cookiers are familiar with the concept and use of cookie stencils, which are typically made from thin, flexible plastic. You generally want your cookie stencils to lay as flat as possible to the cookie so that you don't leave too much icing or airbrush color behind.
Sprinkle Stencils, on the other hand, are made of a much thicker sheet of plastic. In reality, we are talking a matter of 2-3mil difference, but this is a significant amount when dealing with such thin material. This depth allows you to leave enough icing behind so that your sprinkles will be sturdy enough to not break super easily as you remove them from your parchment (they're still sugar decorations and can still break, but they will be better able being handled and applied to your cookies,)
How to Make Homemade Sprinkles Using a Sprinkle Stencil
What You Need:
- Fresh royal icing
- Parchment Paper
- Spatula
- Stencil Scraper
- Edible glitter (optional)
- Airtight container(s) for storage
Fresh Royal Icing :
After much experimentation, we found that fresh royal icing worked best for this process. If you use the Cookie Countess Royal Icing recipe, this would be the original consistency of icing straight from your mixer. The great thing about this is that your sprinkles will taste like the rest of your cookie, with whatever flavorings you tend to include in your recipe; no more stale, store-bought sprinkles that don't do your cookies justice! Feel free to add gel color at this point, but this fluffy, thick icing gave us the best results (as opposed to older icing that had been in the fridge for several days, or even icing made from instant icing mix).
Parchment Paper :
We used plain, unbleached parchment paper for this process and found it worked perfectly. We also tested silicone-coated parchment paper, and although it worked great for the single-layer Sprinkle Stencils, it posed a problem for the 2-layer stencils; the first layer would loosen from the parchment due to the silicone coating, and when we tried to apply the second layer of icing, we would accidentally move the dried first layer out of position.
Spatulas and Stencil Scrapers :
You need a good, sturdy spatula to apply the icing evenly over the Sprinkle Stencil, and you need a flat-edged scraper to scrape off the excess. We found that the flexible-edge Stencil Scrapers worked better than a stiff-edged scraper, since you want to leave some of the icing behind, especially with the 2-layer designs.
Edible Glitter :
Totally optional (but totally awesome!), edible glitter can take your sprinkles to the next level. Once you are done scraping the excess icing off of your design, immediately spritz with edible glitter, and then remove the Sprinkle Stencil. This will give your sprinkles a level of glitz that you wouldn't get by trying to spritz dry store-bought sprinkles with glitter.
Airtight Containers :
Sprinkles have a notoriously long shelf life, since they are basically just dried sugar decorations. Store your sprinkles in small airtight containers, and you can get ahead of the game and make them ahead of time.
The Process: Making Sprinkles
If you have stenciled with royal icing before, this is a very similar process. Simply spread the icing over the stencil and scrape off the excess. Carefully lift off the stencil, and allow the icing to dry completely. Use a bench scraper, a stencil scraper, or a Thingamagenie to scrape the stencils off of the parchment paper.


For two-piece designs, once the first layer is dry, center the second stencil into place and carefully apply the icing. Gently scrape and remove the excess icing and then remove the stencil. Allow to fully dry before removing from the parchment.


💡 Did you know
For multi-layer designs, you first want to stencil the layer that will be covered or encapsulated by the second layer. To make the cat sprinkles, for example, first start with the faces, allow them to dry, then add the second layer (the rest of the head shape) over the top so that the face is protected and stays nice and flat. For the flowers, start with the round centers, and follow up with the petals once dried. This will result in sprinkles that don't have any raised bits that can be damaged; stenciling the cat face second, for example, will result in a more 3D finish.
Having fresh, custom sprinkles on hand at a moment's notice couldn't be easier with Cookie Countess Sprinkle Stencils!
Ways to use sprinkle stencils
Recommended for You:
Piping Bag Tip Tube Covers - Set of 4
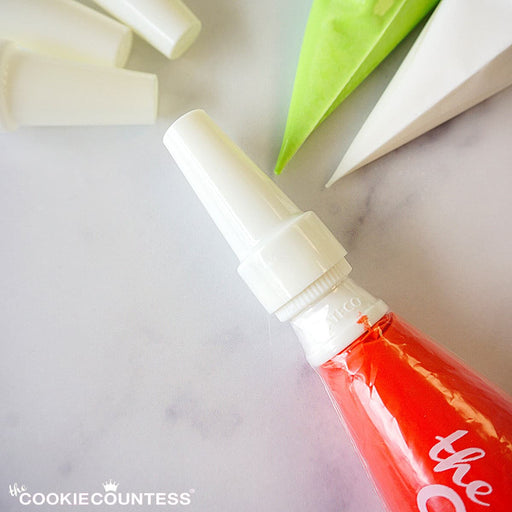
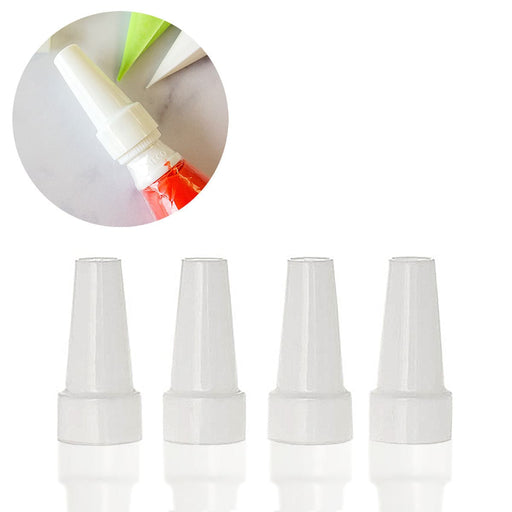
AtecoDon't let your icing bags leak or dry out! Use these covers on bags with Ateco couplers and standard tips on them. Reuse them again and again. Se...
View full detailsBlack Fine Tip Food Marker
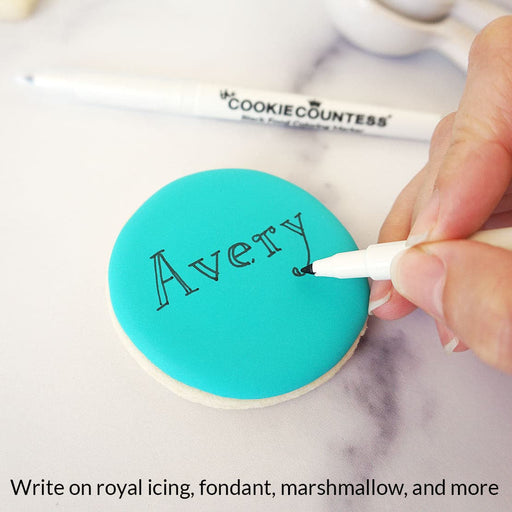
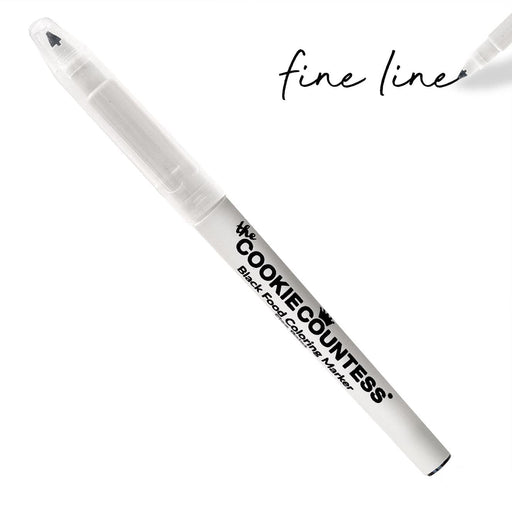
The Cookie CountessA black edible-ink pen is essential for your decorating kit. Use these high quality markers for: Marking up baked cookies for planning designs Wr...
View full detailsStainless Steel Measuring Cups 4 Piece Set
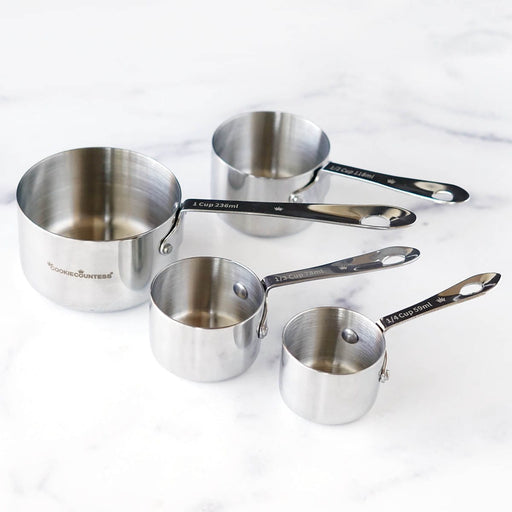
The Cookie CountessIncredibly high quality, with no plastic parts. Whether baking or cooking you'll reach for these essentials again and again! THESE ARE THE LAST SET...
View full detailsInstant Royal Icing Mix - White Base
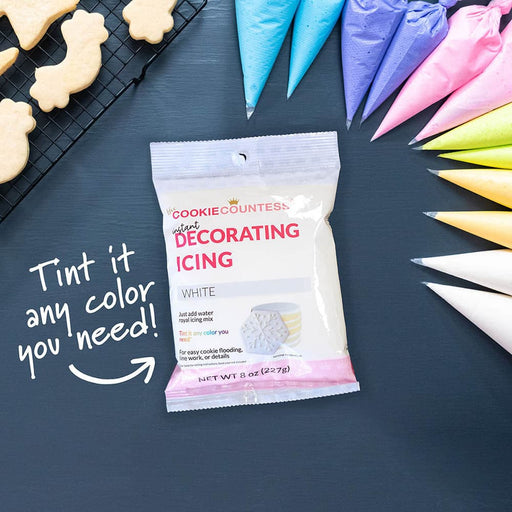
The Cookie CountessJust add water for white, stiff icing! Perfect for stenciling, dots and eyes, writing, or thin it for flooding. You can tint it any color you need...
View full detailsCookie Order Form 5 x 7, 50 sheets
The Cookie CountessThese cute sheets will help you plan your cookie orders. The back has an area for sketching and pricing planning. Size: 5" x 7" 50 Sheet Pad Doub...
View full details-

Cookier Takeaways
Read nowNine years ago this Halloween, I made my very first ever decorated sugar cookies. I had seen a video tutorial on Facebook, and after falling down a rabbit hole watching flooding video after flooding video, I thought to myself, “I...
-

Color Schemes
Read nowOne of the biggest considerations when designing a cookie set (aside from the shapes themselves) is the color scheme. And I don’t know about you, but very rarely do I find myself using bottled color as-is without mixing and tweaking...
-

Precision Rolling Pins 101
Read nowDon’t you love it when you bite into a cookie that is thick and underbaked on one end, but thin and overbaked on the other? You don’t? Yeah, me neither. If you use a standard rolling pin to make rolled-out...





Leave a comment