How to Make Stained Glass Cookies
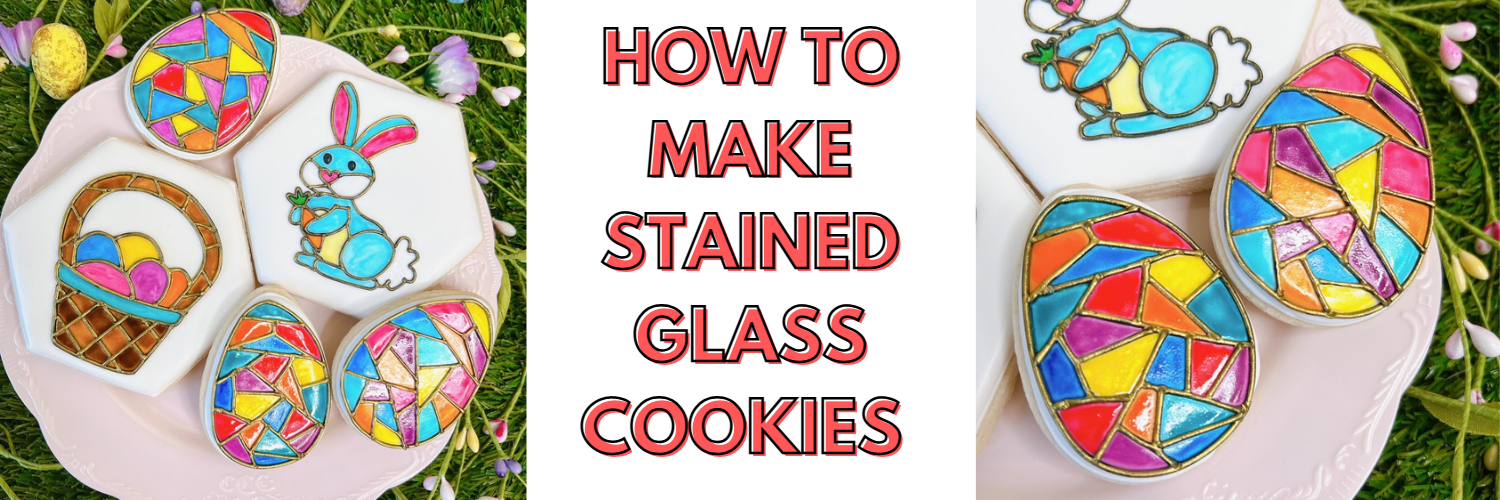
One of the prettiest trends in springtime cookies (in my opinion) is the stained glass window cookie. I love how simple and yet ornate they are, so I wanted to see if I could recreate this effect on some simple Easter cookies.

I first tried making a simple mixture of gel food color and vodka, but I found that this dried with a matte effect, which wasn’t the glossy stained glass look I was going for. So I made a one-to-one mixture of vodka and corn syrup first, and then I added the food coloring to the mix. The result was thin but a little syrupy, so I was hopeful that I was on the right track. The big question was going to be whether or not the stained glass mixture dried well, or if it would stay sticky, and I was happy to see that the panels of color came out perfectly dry to the touch!
Supplies We Used to Achieve this Stained Glass Effect
Cookie Countess Gel Food Colors
Corn Syrup
Vodka
Step 1:
Flood your cookies; I used some Easter eggs, as well as a couple of simple plaques, but use whatever shapes speak to you! Stained glass comes in every size and shape, so have fun with it!

Step 2:
Pipe your stained glass outline onto the cookies. I chose to use black icing for my piping, as I felt it gave a really beautiful and vivid outline. (I also personally love the way black icing looks when it is painted with gold, but more on that later!) For the eggs, simple straight lines worked best for me—don’t worry about being too perfect! I also piped a bunny design and an Easter basket onto my flooded plaque cookies. A small projector can be helpful with this, but you could also use PYO stencil designs if you don’t feel comfortable freehand piping; simply scrape the PYO design onto the cookie and then pipe over the lines to give that raised look and cover any breaks in the stencil so that the stained glass colors don't bleed through to the other sections.

Step 3:
Mix a 1-to-1 mixture of vodka (or other high-proof alcohol) and corn syrup, stirring with a paintbrush. I made a good amount of this base so that I could then pour the clear liquid into each of the 10 cavities of my paint palette.

Step 4:
Add one drop of gel food coloring to each of the corn syrup/vodka mixtures in the palette. Stir with a paintbrush to create your stained glass colors.

Step 5:
Use a paintbrush to fill in the sections of the image, but try to use as little liquid as possible; dropping a lot of liquid into the design can cause the black border to bleed into your stained glass. You can always go back to add a little more color if you want the sections to be darker.

Step 6:
As a final touch, I used the gold from the SweetSticks Water Activated Paint Palette in Art Deco to paint along the stained glass section outlines on both my eggs and plaques. I felt this gave them a more burnished, dark metallic look than the stark black (and looked more like the stained glass frames I've always been familiar with), but the black did make the colors look even more vivid, so really it’s up to your preference!

And that’s it! I would still probably leave my freshly painted stained glass cookies overnight before packaging (just to be on the safe side), but since I’m an impatient person by nature, I did keep going over to prod them with a fingertip, and the “panes” of the stained glass dried relatively quickly. I just love how clear and glossy the “glass” turned out, and I can’t wait to make some more pretty spring designs! If you use this technique to make stained glass cookies, let us know how they turned out!
Recommended for You:
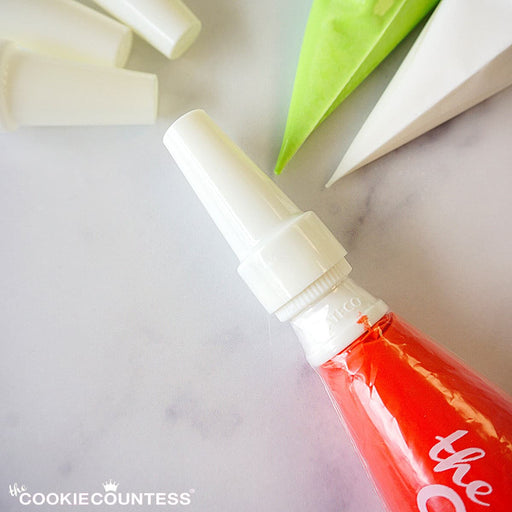
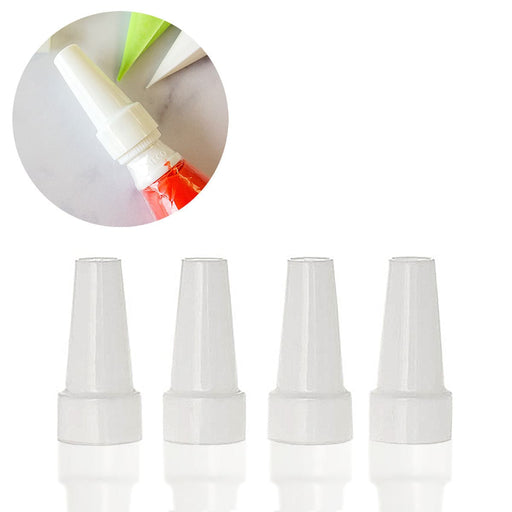
Piping Bag Tip Tube Covers - Set of 4
AtecoDon't let your icing bags leak or dry out! Use these covers on bags with Ateco couplers and standard tips on them. Reuse them again and again. Se...
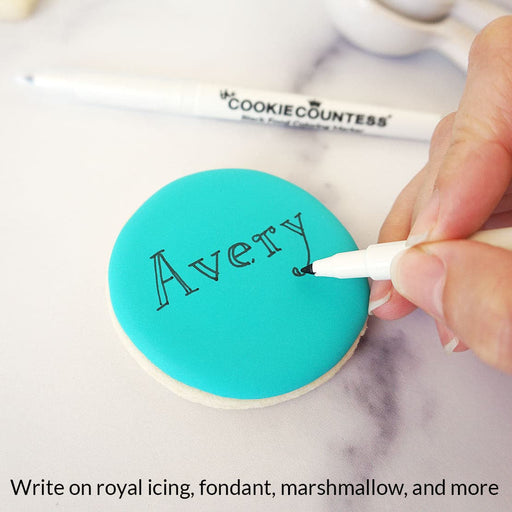
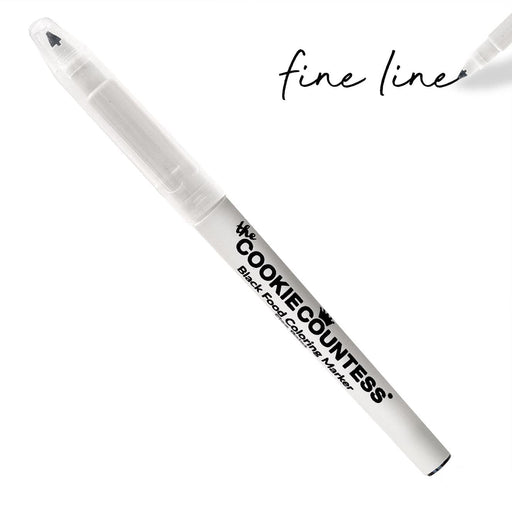
View full detailsBlack Fine Tip Food Marker
The Cookie CountessA black edible-ink pen is essential for your decorating kit. Use these high quality markers for: Marking up baked cookies for planning designs Wr...
View full detailsStainless Steel Measuring Cups 4 Piece Set
The Cookie CountessIncredibly high quality, with no plastic parts. Whether baking or cooking you'll reach for these essentials again and again! THESE ARE THE LAST SET...
View full detailsInstant Royal Icing Mix - White Base
The Cookie CountessJust add water for white, stiff icing! Perfect for stenciling, dots and eyes, writing, or thin it for flooding. You can tint it any color you need...
View full detailsCookie Order Form 5 x 7, 50 sheets
The Cookie CountessThese cute sheets will help you plan your cookie orders. The back has an area for sketching and pricing planning. Size: 5" x 7" 50 Sheet Pad Doub...
View full details-
Make magic with edible markers and hybrid luster dust!
Read nowScroll down for Q&A section! When I made a quick video earlier this week demonstrating how you can add some real wow factor to your edible marker by dusting it with luster dust, I didn’t realize how many questions were...
-
Solar Eclipse Cookies
Read nowCookiers will find a way to cookie anything. Yes. Cookiers will find a way to cookie anything. Am I being dramatic? A tad. But c'mon! Is there anything more dramatic than a total solar eclipse? I knew the eclipse was...
-
Blog Index
Read nowAll Airbrush Related Articles 1. Which Airbrush System is right for you? 2. Live Replay: Unboxing & getting started with your airbrush with Hillary & Sarah. 3. How to make watercolor florals with airbrush color 4. Live Replay: Airbrushing 101...




Comments
Leave a comment