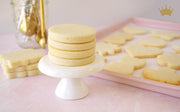

4th of July Dipped Cookies with Royal Icing Transfers
Step 1: Start with a bowl of white royal icing. The icing should be a little thinner than your usual flooding consistency.
Step 2: Drizzle in your red royal icing going back and forth to create a random pattern of lines. Repeat with the blue royal icing.
Step 3: Drag the tip of a scribe tool (or toothpick) back and forth through the icing a bit. We’re not mixing, just blending a little bit on the surface!
Step 4: Once your icing is ready, hold a cookie gently by the sides and dip flat into the icing, making sure to make contact fully across the surface of the cookie. Lift the cookie out of the icing and allow any excess to drip back into the bowl. Flip the cookie over, and allow the icing to settle into place (feel free to give it a little shake to get things to smooth out). Use a scribe tool or toothpick to nudge icing into any empty spots and to pop any air bubbles. Repeat the process for your next cookie, and allow everything to fully dry.
Royal Icing Transfers
From here, you can quite literally put anything you want on top of the dipped cookie, or leave it as is! Here are a few examples of royal icing designs you can pipe directly on your cookies, or make them as royal icing transfers like Sarah did here.
See what pre-made royal icing transfers we have in stock here.
Click here to read our full blog on making your own royal icing transfers.

Making It Metallic ✨
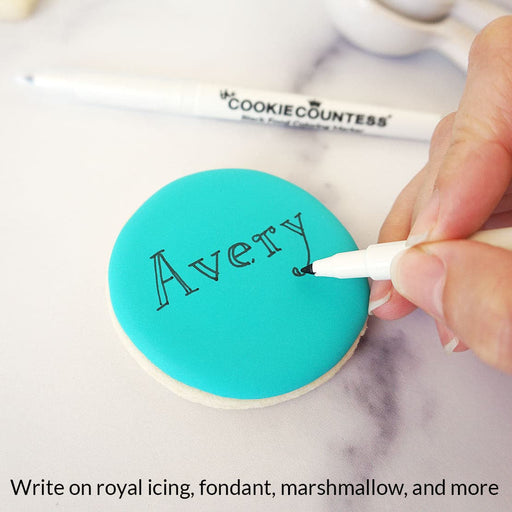
First, draw your design onto your cookie with a plain old black edible marker. (For this video Sarah colored over the entire transfer.) You want to work relatively quickly, so that the marker lines themselves are still a little bit tacky pretty consistently across the design (think: if you pressed your fingertip onto the marker lines, you would come away with transfer on your finger); if you take a little longer to sketch out your design, just do a quick re-trace of the areas you did first to reactivate the ink.
Once you have a consistent ink line across the cookie, use a fan brush to tap a little bit of emerald green luster dust across the cookie, and gently use the bristles of the fan brush to work the dust across the marker lines. Once the lines are fully covered, sweep the fan brush back and forth across the cookie to remove excess dust. Those plain black marker lines will have turned to gold (errrr...green) right before your eyes, taking your design to the next level.
Recommended for You:
Original price
$ 1.95
-
Original price
$ 1.95
Original price
$ 1.95
$ 1.95
-
$ 1.95
Current price
$ 1.95
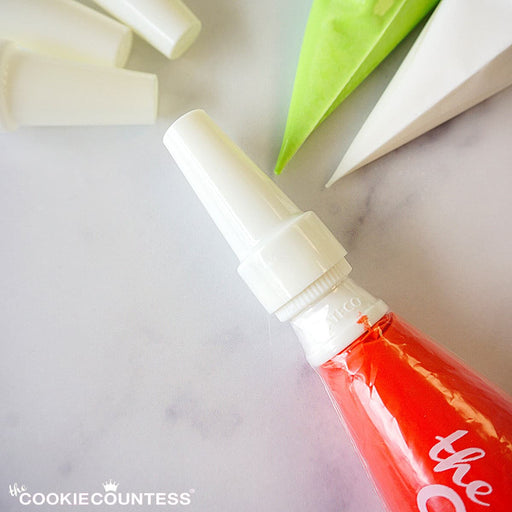
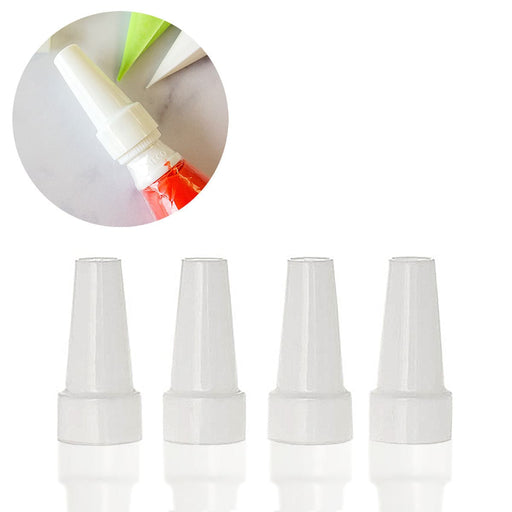
Piping Bag Tip Tube Covers - Set of 4
Ateco
in stock
Don't let your icing bags leak or dry out! Use these covers on bags with Ateco couplers and standard tips on them. Reuse them again and again. Se...
View full details
Original price
$ 1.95
-
Original price
$ 1.95
Original price
$ 1.95
$ 1.95
-
$ 1.95
Current price
$ 1.95
Original price
$ 1.99
-
Original price
$ 9.95
Original price
$ 1.99
-
Original price
$ 9.95
Original price
$ 1.99
$ 1.99
-
$ 8.95
$ 1.99
-
$ 8.95
Current price
$ 1.99
Black Fine Tip Food Marker
The Cookie Countess
in stock
A black edible-ink pen is essential for your decorating kit. Use these high quality markers for: Marking up baked cookies for planning designs Wr...
View full details
Original price
$ 1.99
-
Original price
$ 9.95
Original price
$ 1.99
-
Original price
$ 9.95
Original price
$ 1.99
$ 1.99
-
$ 8.95
$ 1.99
-
$ 8.95
Current price
$ 1.99
Save up to 10%

Original price
$ 23.99
Original price
$ 23.99
-
Original price
$ 23.99
Original price
$ 23.99
Current price
$ 14.99
$ 14.99
-
$ 14.99
Current price
$ 14.99
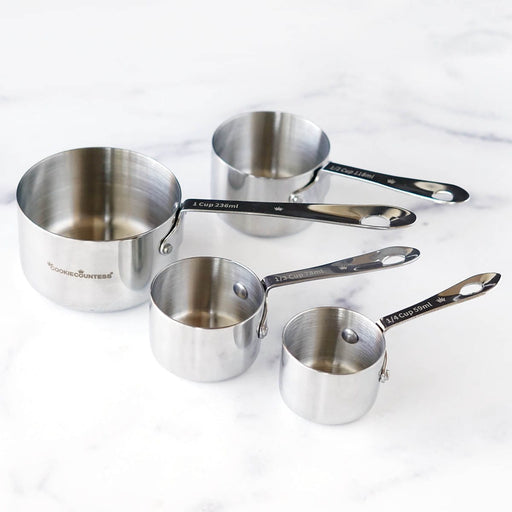
Stainless Steel Measuring Cups 4 Piece Set
The Cookie Countess
in stock
Incredibly high quality, with no plastic parts. Whether baking or cooking you'll reach for these essentials again and again! THESE ARE THE LAST SET...
View full details
Original price
$ 23.99
Original price
$ 23.99
-
Original price
$ 23.99
Original price
$ 23.99
Current price
$ 14.99
$ 14.99
-
$ 14.99
Current price
$ 14.99
Save 38%

Original price
$ 8.99
-
Original price
$ 8.99
Original price
$ 8.99
$ 8.99
-
$ 8.99
Current price
$ 8.99
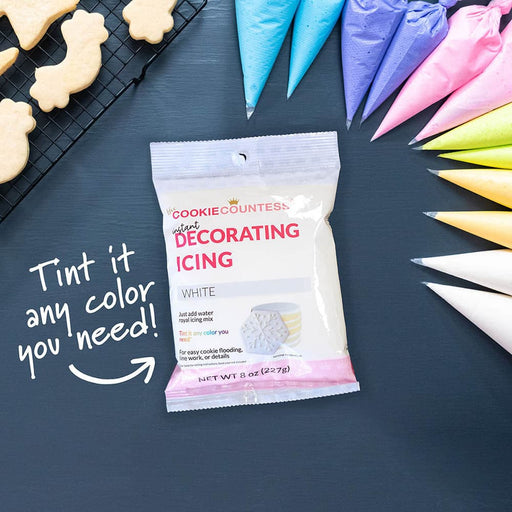
Instant Royal Icing Mix - White Base
The Cookie Countess
in stock
Just add water for white, stiff icing! Perfect for stenciling, dots and eyes, writing, or thin it for flooding. You can tint it any color you need...
View full details
Original price
$ 8.99
-
Original price
$ 8.99
Original price
$ 8.99
$ 8.99
-
$ 8.99
Current price
$ 8.99
Original price
$ 5.99
-
Original price
$ 5.99
Original price
$ 5.99
$ 5.99
-
$ 5.99
Current price
$ 5.99
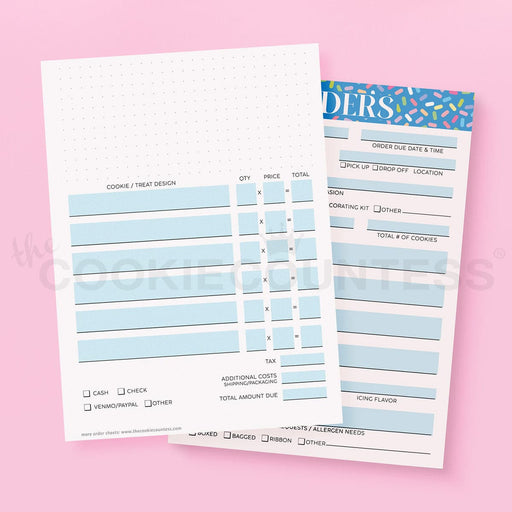
Cookie Order Form 5 x 7, 50 sheets
The Cookie Countess
in stock
These cute sheets will help you plan your cookie orders. The back has an area for sketching and pricing planning. Size: 5" x 7" 50 Sheet Pad Doub...
View full details
Original price
$ 5.99
-
Original price
$ 5.99
Original price
$ 5.99
$ 5.99
-
$ 5.99
Current price
$ 5.99
-

Piping Tips 101
Read nowIf you were stranded on a dessert island (see what I did there?) and could only bring five piping tips, which ones would you bring? Although I love a good tipless bag, there are just some times where I feel...
-

Black Airbrush Color and Edible Marker: Why Aren't They Coming Out Black?
Read nowHave you ever used a black edible marker, only to come back a couple of days later and see that your nice black lines look like they have turned green or pink or some other definitively not-black color? Or maybe...
-

Random Cookie Challenge: Summer Wedding
Read nowWhat do fingerprints, snowflakes, and cookiers have in common? Well, no two of each is the same, of course. Just like snowflakes and fingerprints, each cookier’s style is completely unique. We thought it would be fun to give our two...


Leave a comment