
3 Ways To Decorate a Chocolate Covered Oreo
Today I'm going to show you 3 ways to easily decorate and upgrade your chocolate covered Oreos.
If you've decorated sugar cookies before, you probably already have all the supplies you need right in your kitchen. If you're missing something, we've got you covered. Click the links in this article to find the best supplies for decorating chocolate covered Oreos at any skill level! All chocolate Oreo making supplies can be found here.
See our blog post on How to Make Chocolate Covered Oreos with our silicone mold here.
1. Stencils

Our Tip: Chocolate and candy melts tend to dry FAST - be sure to lift the stencil up immediately after scraping to avoid it sticking to the oreo. You can always go back and place the stencil back on the oreo once it's dry to add glitter or other edible decor to the stencil design.
2. Chocolate Drizzle

A chocolate drizzle finish requires the least amount of effort out of all these ideas, and still looks amazing. Easily tint white chocolate melts to be any color you want using this food coloring for chocolate. Load the chocolate into a tipless bag, use scissors to make a small opening and drizzle away!
Our Tip: When drizzling the chocolate, start to drizzle back and forth a few times next on a piece of paper towel or parchment to get control of the flow of the chocolate before letting it fall onto the oreo.
3. Marbled Effect

This is one of our favorite ways to add dimension to a chocolate covered Oreo. It's similar to our Marbled Royal Icing Cookie tutorial. While 2 colors of chocolate tend to create the best results for this method, you could try this with as many colors as you want!
To make this Oreo, start with two separate bowls of white melted chocolate or candy melts. We used this Powdered Food Color to dye our white candy melts a light pink color as seen in the photo above, and chose to keep the melts white as the second color.
You'll then want to start pouring the melts into your silicone mold, alternating back and forth between the two colors. Use a scribe or a toothpick to gently swirl the colors together until you're satisfied with the level of marbling, and repeat until the cookie is fully covered.
Our tip: Don't swirl too much, or you'll end up mixing the two colors together completely and won't get the marbled effect you're looking for.
Recommended for You:
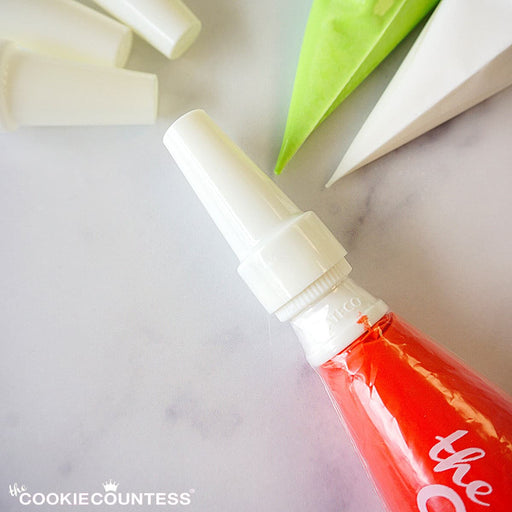
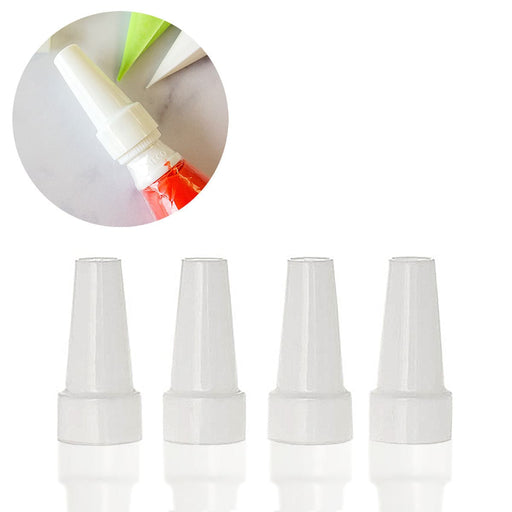
Piping Bag Tip Tube Covers - Set of 4
AtecoDon't let your icing bags leak or dry out! Use these covers on bags with Ateco couplers and standard tips on them. Reuse them again and again. Se...
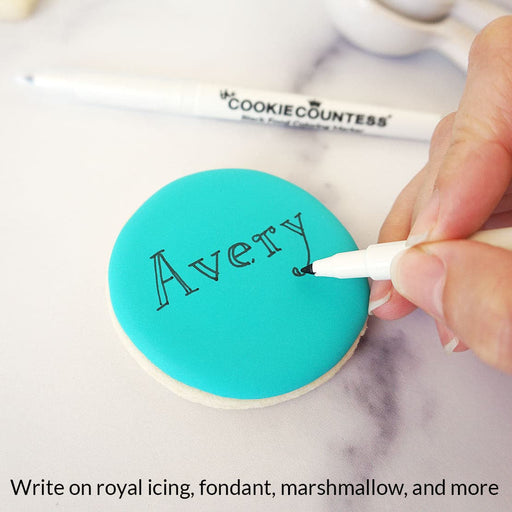
View full detailsBlack Fine Tip Food Marker
The Cookie CountessA black edible-ink pen is essential for your decorating kit. Use these high quality markers for: Marking up baked cookies for planning designs Wr...
View full detailsStainless Steel Measuring Cups 4 Piece Set
The Cookie CountessIncredibly high quality, with no plastic parts. Whether baking or cooking you'll reach for these essentials again and again! THESE ARE THE LAST SET...
View full detailsInstant Royal Icing Mix - White Base
The Cookie CountessJust add water for white, stiff icing! Perfect for stenciling, dots and eyes, writing, or thin it for flooding. You can tint it any color you need...
View full detailsCookie Order Form 5 x 7, 50 sheets
The Cookie CountessThese cute sheets will help you plan your cookie orders. The back has an area for sketching and pricing planning. Size: 5" x 7" 50 Sheet Pad Doub...
View full details-

Cookier Takeaways
Read nowNine years ago this Halloween, I made my very first ever decorated sugar cookies. I had seen a video tutorial on Facebook, and after falling down a rabbit hole watching flooding video after flooding video, I thought to myself, “I...
-

Color Schemes
Read nowOne of the biggest considerations when designing a cookie set (aside from the shapes themselves) is the color scheme. And I don’t know about you, but very rarely do I find myself using bottled color as-is without mixing and tweaking...
-

Precision Rolling Pins 101
Read nowDon’t you love it when you bite into a cookie that is thick and underbaked on one end, but thin and overbaked on the other? You don’t? Yeah, me neither. If you use a standard rolling pin to make rolled-out...




Comments
Leave a comment