
October Cookie Countess Cutter Club

Thank you so much for signing up for our new Cutter Club subscription box!
Even though Fall officially starts in September, October is when it starts to sink in that summer is over and it’s time to break out the pumpkins and scarves.
My idea for this months cutter set was to create a feeling of warmth and comfort. Cozy chunky scarves and boots, warm pumpkin pies and a banner sign to welcome in the new season.
Be sure to check out the downloads available below for the cookie cutters graphics. You can use these for your projector or royal icing transfers to use for the lettering and bows.
I hope you have fun creating this set of cookies!
And welcome to the Cutter Club!


I made a piping consistency and flood consistency for the orange, light brown and the teal. For the dark brown I made one consistency, slightly thinner than a true piping one. If you are comfortable cutting and piping/flooding with tipless bags, go for it! If you are a tips girl, like me, I used a 1.5 tip for outlines and details.
Below you will find step by step instructions for our first 4 cookies. Followed by a video for the 5th. This is of course only if you want to replicate these cookies exactly. Feel free to have fun! Use different colors, or different techniques. Let your creativity shine if you want! And remember that you can also use these same cutters for different occasions... the scarf can easily double as an awareness ribbon... the banner plaque can be turned sideways and used for Christmas with the word "Merry" or "XMAS" ... or maybe change it to a "Welcome" or "Home" sign for a set for a new home owner. A cookie "flip" is a great way to get the most from your cutters.
Let's get started!
1. Scarf

2. Pie

3. Pumpkin with bow

4. Banner Plaque

Let's talk about royal icing transfers!
Royal icing transfers are a great way to make cookie details ahead of time. They also allow you to trace the design, making it easy to get a consistent result that may be harder when piping by hand.
When using transfers for letters, it gives you the opportunity to space them out exactly where needed too.
If you want to use the transfer method for these cookies, simply print out the PDF found below. Printed as a PDF on standard printer paper (print at 100%, do not adjust) will give you the correct size for the size of the cookies. You will then place this paper under a sheet of parchment or acetate, and pipe directly on the parchment or acetate. Keep moving the underneath image over so you can pipe multiples of the transfer image.
Leave the transfers to dry overnight and simply peel them off when ready to use them.
We also have a blog on using royal icing transfers linked below.

5.Cozy Boots

For the video tutorial this month I decided to make the Cozy Boots. It’s a sweet and simple design, but the stippling technique may be something you haven’t tried before. It’s a great way to show the texture of the suede boot. It would also be a fun way to do sweaters or even the scarf in this set.
To do this the icing underneath needs to be either completely dry or close to it, so you don’t crater the icing with the pressure of the brush. Simply squiggle a small amount of icing on the section, and using a short stiff brush, make small “jabbing” motions at the cookie moving around as you go.
The sectioning of this cookie is important too, as it really gives a realistic look to the boots. To take the guesswork out of the placement of the front boot, I cut it from the PDF printout and traced it. Easy!
You can follow this design and pipe a simple bow with pom poms, or make your own embellishment. Have fun with it!
Once again, thank you so much for being part of our first Cutter Club! I hope you have as much fun making these cozy Fall cookies as I did! I will link all the products I used in this set below, in case you find you need to do some shopping. This month's coupon is $5 off your next purchase! Perfect in case you do need any supplies to complete these designs. If you have any questions or comments you can feel free to leave them below. I would love to hear what you think of this month's box!
xo Hillary

Recommended for You:
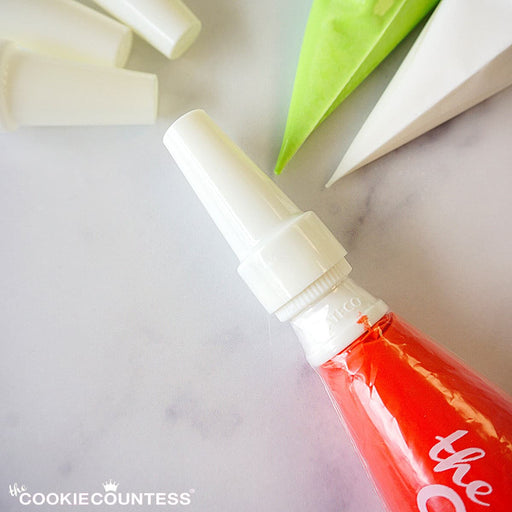
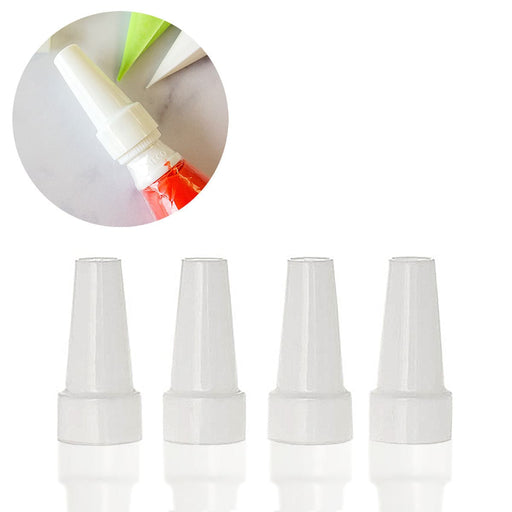
Piping Bag Tip Tube Covers - Set of 4
AtecoDon't let your icing bags leak or dry out! Use these covers on bags with Ateco couplers and standard tips on them. Reuse them again and again. Se...
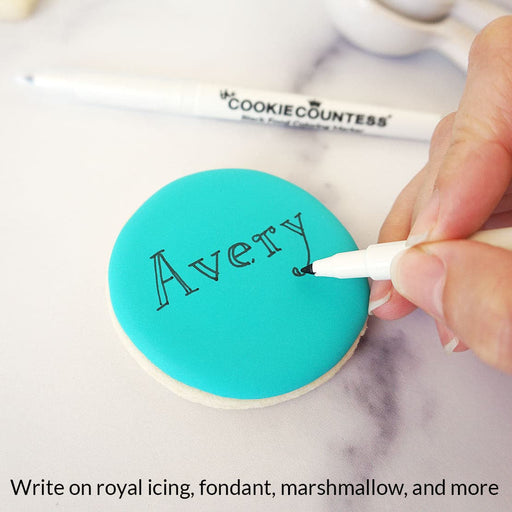
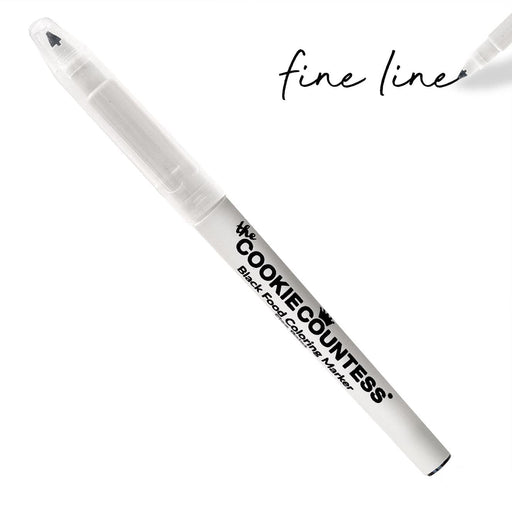
View full detailsBlack Fine Tip Food Marker
The Cookie CountessA black edible-ink pen is essential for your decorating kit. Use these high quality markers for: Marking up baked cookies for planning designs Wr...
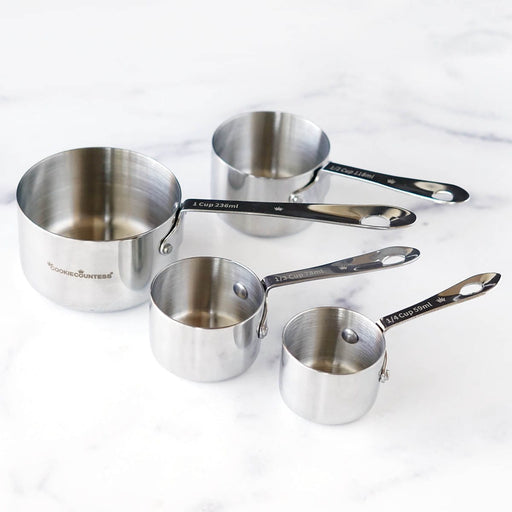
View full detailsStainless Steel Measuring Cups 4 Piece Set
The Cookie CountessIncredibly high quality, with no plastic parts. Whether baking or cooking you'll reach for these essentials again and again! THESE ARE THE LAST SET...
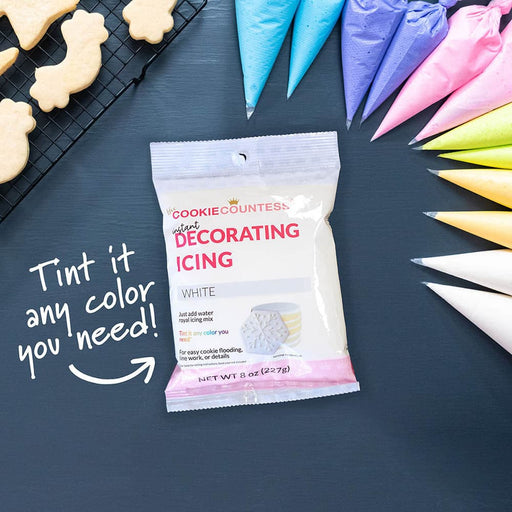
View full detailsInstant Royal Icing Mix - White Base
The Cookie CountessJust add water for white, stiff icing! Perfect for stenciling, dots and eyes, writing, or thin it for flooding. You can tint it any color you need...
View full detailsCookie Order Form 5 x 7, 50 sheets
The Cookie CountessThese cute sheets will help you plan your cookie orders. The back has an area for sketching and pricing planning. Size: 5" x 7" 50 Sheet Pad Doub...
View full details-

Cookier Takeaways
Read nowNine years ago this Halloween, I made my very first ever decorated sugar cookies. I had seen a video tutorial on Facebook, and after falling down a rabbit hole watching flooding video after flooding video, I thought to myself, “I...
-

Color Schemes
Read nowOne of the biggest considerations when designing a cookie set (aside from the shapes themselves) is the color scheme. And I don’t know about you, but very rarely do I find myself using bottled color as-is without mixing and tweaking...
-

Precision Rolling Pins 101
Read nowDon’t you love it when you bite into a cookie that is thick and underbaked on one end, but thin and overbaked on the other? You don’t? Yeah, me neither. If you use a standard rolling pin to make rolled-out...




Leave a comment