
How to Make Light Airbrush Colors Work For You
My light airbrush color is coming out dark and watery—what do I do?
Airbrushing can be a funny thing. A technique that seems to work really well for one of your colors may not work as well with another. This can be due to the composition of the liquid, what the intended result color is meant to be, and the nature of the human eye. Let’s break it down.

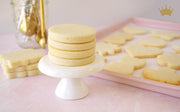
The light colors shown here (Oh La Lavendar and Beachy Blue) are obtainable with the right technique.
Airbrush Color is Water-Based, and Needs a Light Touch
Airbrush colors tend to be thin and watery in general, and those that are intended to produce a very light result (without adding white or anything else to change the color itself) can be more finicky to work with than darker colors, for a couple of reasons.
Achieving the right result from these colors is very dependent on using a light trigger finger, and many airbrushers have the tendency to open up their triggers full blast, resulting in too much color hitting the cookie at one time. This can result in dark pools of color sitting on top of the icing.
Oftentimes, the actual airbrush liquid in the bottles is very dark, even though it is intended to result in beautiful light colors, so if you spray these colors full-blast onto your cookie, the dark color in the bottle is what is going to land and show up on the cookie, instead of the lighter shade.

So How Do I Get Light Airbrush Colors?
The key to achieving light colors is using very light trigger pressure to start the flow of color—even if you can’t see it flowing at first! With red or black (or any other dark color, for example), when you pull the trigger lightly, you immediately see color flowing, and you can adjust accordingly.
With lighter colors, your eye doesn’t necessarily see that color landing on the cookie, even though it is, so the tendency is to overcompensate and add more color flow immediately.
Your best results will come from holding your gun vertically about 6-8” above the cookie, pulling the trigger very lightly, and moving your gun slowly and steadily back and forth across the cookie; allow that first layer to dry for a moment, then add another layer.
Building light layers will result in the lovely light and airy airbrush shades you just can’t get by dumping too much color on the cookie too quickly.
All Colors Should be Built Up with Light Coats
This technique is the best way to build all colors, but it simply is more necessary with any color that is intended to be a light shade (for colors like Beachy Blue, and Pinch of Pink in particular).
If you get in the habit of using this technique with all colors, even the darker ones, you will be more likely to see better airbrushing results across the board, no matter the color.
Recommended for You:
Original price
$ 1.65
-
Original price
$ 1.65
Original price
$ 1.65
$ 1.65
-
$ 1.65
Current price
$ 1.65
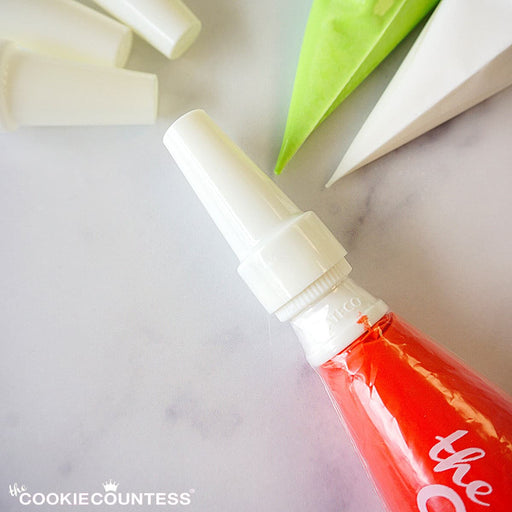
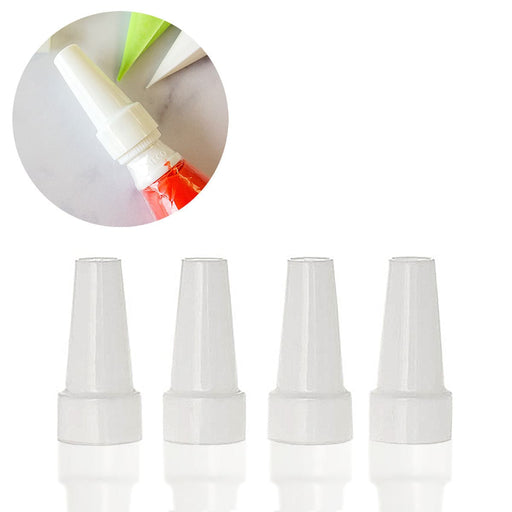
Piping Bag Tip Tube Covers - Set of 4
Ateco
in stock
Don't let your icing bags leak or dry out! Use these covers on bags with Ateco couplers and standard tips on them. Reuse them again and again. Se...
View full details
Original price
$ 1.65
-
Original price
$ 1.65
Original price
$ 1.65
$ 1.65
-
$ 1.65
Current price
$ 1.65
Original price
$ 1.85
-
Original price
$ 1.85
Original price
$ 1.85
$ 1.85
-
$ 1.85
Current price
$ 1.85
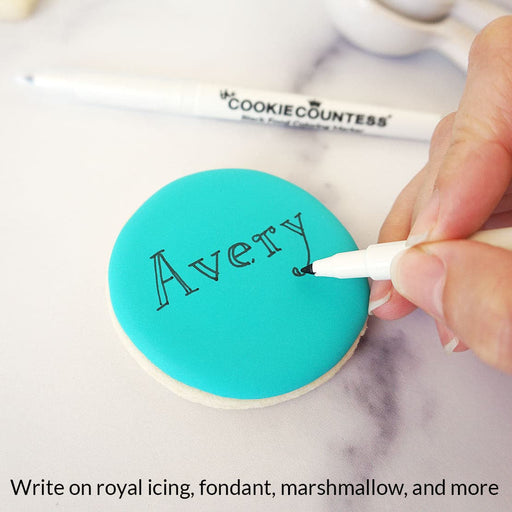
Black Fine Tip Food Marker
The Cookie Countess
in stock
A black edible-ink pen is essential for your decorating kit. Use these high quality markers for: Marking up baked cookies for planning designs Wr...
View full details
Original price
$ 1.85
-
Original price
$ 1.85
Original price
$ 1.85
$ 1.85
-
$ 1.85
Current price
$ 1.85

Original price
$ 23.99
Original price
$ 23.99
-
Original price
$ 23.99
Original price
$ 23.99
Current price
$ 14.99
$ 14.99
-
$ 14.99
Current price
$ 14.99
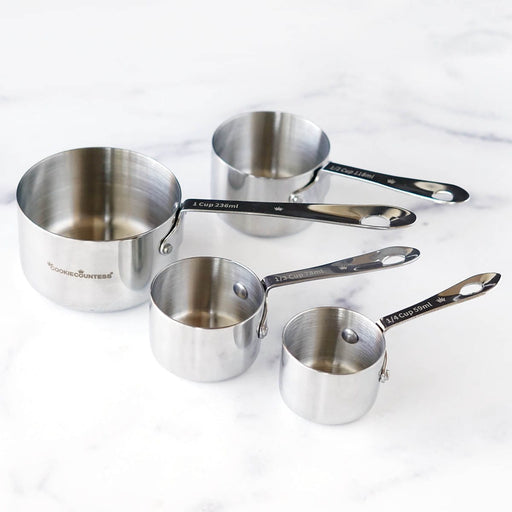
Stainless Steel Measuring Cups 4 Piece Set
The Cookie Countess
in stock
Incredibly high quality, with no plastic parts. Whether baking or cooking you'll reach for these essentials again and again! THESE ARE THE LAST SET...
View full details
Original price
$ 23.99
Original price
$ 23.99
-
Original price
$ 23.99
Original price
$ 23.99
Current price
$ 14.99
$ 14.99
-
$ 14.99
Current price
$ 14.99
Save 38%

Original price
$ 6.99
-
Original price
$ 6.99
Original price
$ 6.99
$ 6.99
-
$ 6.99
Current price
$ 6.99
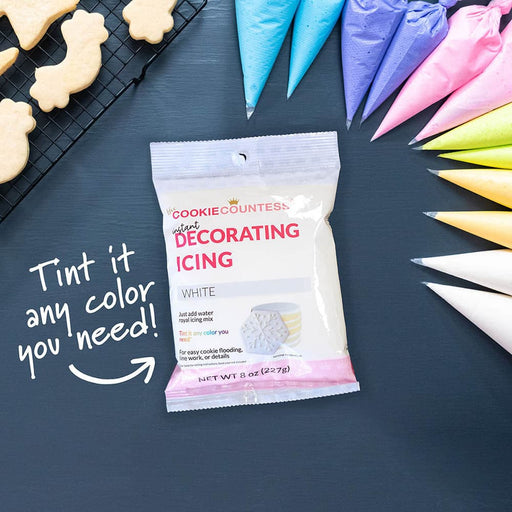
Instant Royal Icing Mix - White Base
The Cookie Countess
in stock
Just add water for white, stiff icing! Perfect for stenciling, dots and eyes, writing, or thin it for flooding. You can tint it any color you need...
View full details
Original price
$ 6.99
-
Original price
$ 6.99
Original price
$ 6.99
$ 6.99
-
$ 6.99
Current price
$ 6.99
Original price
$ 5.50
-
Original price
$ 5.50
Original price
$ 5.50
$ 5.50
-
$ 5.50
Current price
$ 5.50
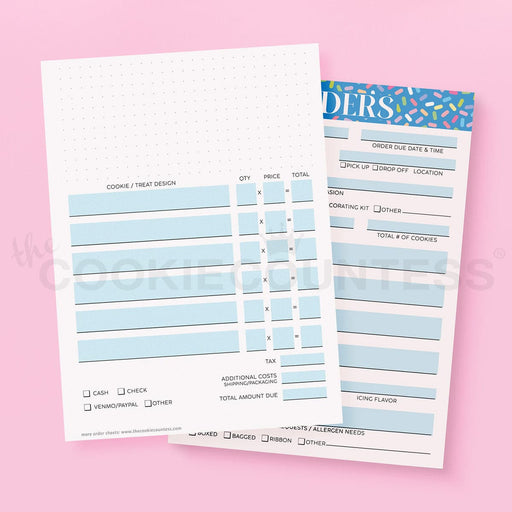
Cookie Order Form 5 x 7, 50 sheets
The Cookie Countess
in stock
These cute sheets will help you plan your cookie orders. The back has an area for sketching and pricing planning. Size: 5" x 7" 50 Sheet Pad Doub...
View full details
Original price
$ 5.50
-
Original price
$ 5.50
Original price
$ 5.50
$ 5.50
-
$ 5.50
Current price
$ 5.50
-
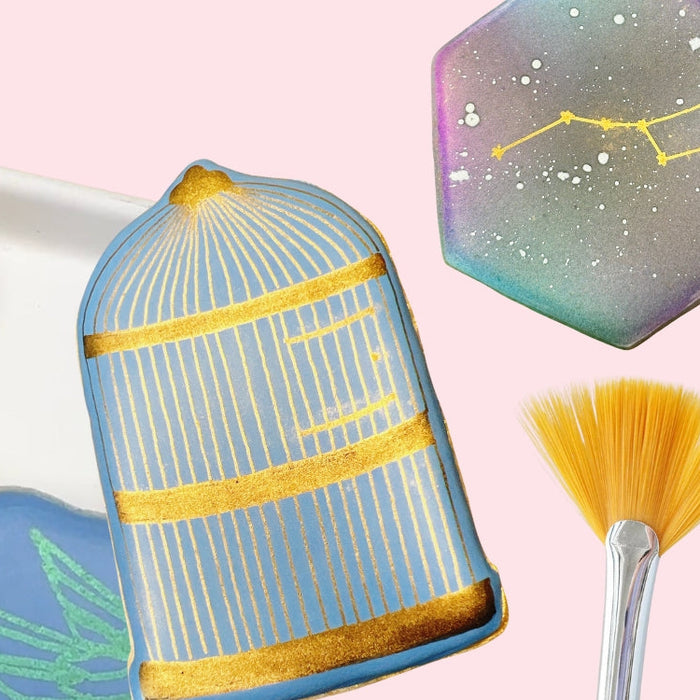
Make magic with edible markers and hybrid luster dust!
Read nowScroll down for Q&A section! When I made a quick video earlier this week demonstrating how you can add some real wow factor to your edible marker by dusting it with luster dust, I didn’t realize how many questions were...
-
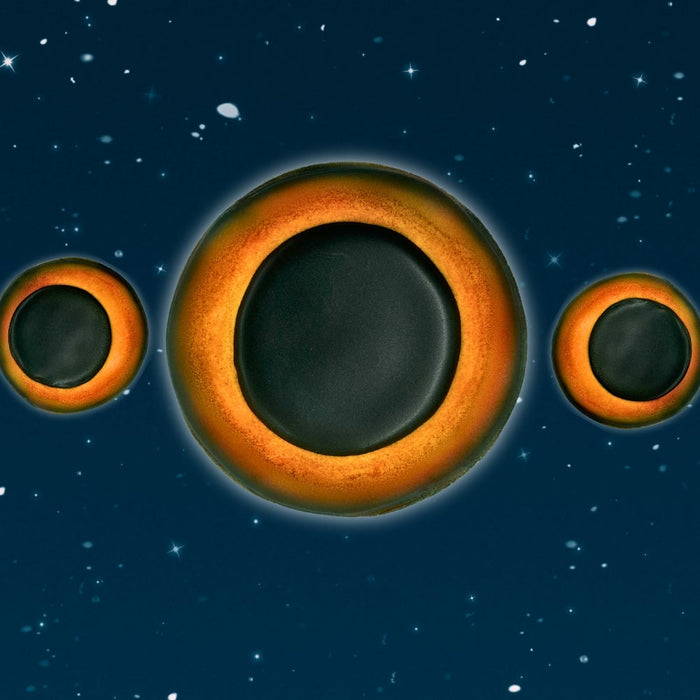
Solar Eclipse Cookies
Read nowCookiers will find a way to cookie anything. Yes. Cookiers will find a way to cookie anything. Am I being dramatic? A tad. But c'mon! Is there anything more dramatic than a total solar eclipse? I knew the eclipse was...
-
Blog Index
Read nowAll Airbrush Related Articles 1. Which Airbrush System is right for you? 2. Live Replay: Unboxing & getting started with your airbrush with Hillary & Sarah. 3. How to make watercolor florals with airbrush color 4. Live Replay: Airbrushing 101...


Comments
Leave a comment